Data Recovery : The Best 5 Easy Steps For Implement .
Today, a vast majority of homes have more than one Data Recovery computer. These computers are connected to each other via a local network. Transferring important files Data Recovery between users such as videos, music, and eBooks can be simplified. All one has to do is enable file sharing.
For Windows 7, 8.1 and 10 users, click “Start” and select “Control Panel” from the list of options. For Windows 8 users, press the Windows key and type “Control Panel” on the start screen and for Mac users, click the Apple menu and select “System Preferences.” Another option for Windows 7, 8, 8.1 and 10 users is to open any folder on your computer.
On the address bar towards the upper left corner where the name of the folder is displayed (within the address bar), click the “forward sign” pointing to the name of the folder or location. You should see a list of options. Select “Control Panel.”
The control panel on Windows OS offers three types of views – Category, Large Icon and Small Icons but You can change to your desired view by selecting from the drop-down menu under “View By.” From the Network and Sharing Center, select “Advanced Sharing Settings.” The Advanced Sharing Settings page will be opened and list network settings for every network you are connected to.
If your computer is running Windows 7, only two networks will be listed – Home/Work and Public but for Windows 8, the Home network will be renamed “Private.” Since we are configuring file sharing for a home computer, click the down arrow under Home/Work or Private.” You should see the following options under Network Discovery:
Select “Turn on network discovery” if it was not already turned on. For Mac users, select “Sharing” under System Preferences (Refer to Step One). At the top, you should see “File Sharing.” Click on it. Below Network discovery, you should see the following option – File and printer sharing. Just below this Facebook title, the following options will be available to you.
Select the first option. For Mac users, the Data Recovery File sharing section will list shared folders on the left and on the right but a list of users who can access them. To add more folders, click the “+” under Shared Folders box. For Windows OS users, click “Save Changes” and exit the Advanced Sharing Settings. For Mac users, one can change permission to the shared folders like choosing “Read Only” option to prevent users from deleting contents in the folders.

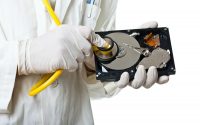
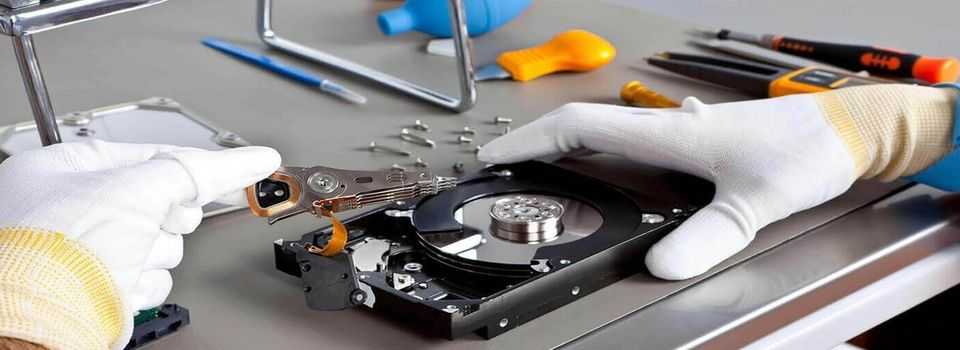
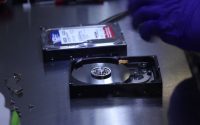
The Best Data Recovery From Physical Crashed USB Flash Drive
Mobile And Tablet Data Recovery Services